
Most homeowners don’t dread paint itself. They dread everything that seems to come with it: the furniture shuffle, the “we’ll be there sometime Tuesday” uncertainty, the smell that lingers longer than promised, and that slow realisation (usually mid-job) that the plan was never as clear as it felt at the start.
A residential repaint can be straightforward. The difference between “straightforward” and “why did we do this?” usually comes down to a few pressure points: how the job is scoped, how the prep is handled, how the schedule is set, and whether the process is organised enough to keep your home feeling like a home while the work happens.
If you’re looking for a professional painting company for residential work in Sydney, here’s how to reduce the stress without getting bogged down in technical jargon or endless options.
Begin by defining the job in plain language
It’s tempting to start with colour. In practice, stress tends to start earlier—at the moment you and the painter have slightly different ideas of what “painting the house” includes.
Before anyone talks about whites, warm tones, or feature walls, write down what you actually want painted:
Interior, exterior, or both
Walls only, or walls plus ceilings
Doors, frames, skirting, cornices, stair rails
Any tricky zones: stairwells, high ceilings, narrow side access, older timber windows
Then add the condition notes most people forget until it matters: flaking patches, hairline cracking, water marks, old glossy paint, or areas that have been “patched a dozen times” and still look uneven in the afternoon light.
This isn’t over-planning. It’s the simplest way to prevent the mid-job surprises that cause delays and disputes.
“Professional” is a process, not a promise
A good residential paint finish is the outcome. The calmer experience you’re after is the process.
When painters operate professionally, you’ll usually see it in small, practical habits:
They can describe their prep approach without hand-waving
They protect floors and fixtures as a default, not a favour
They work in a sequence that keeps parts of the home usable
They don’t pretend everything can be done in one coat “because it’s a good paint”
They finish with a walkthrough and touch-ups as part of completion, not as an afterthought
If you’re comparing quotes, don’t just compare the number at the bottom. Compare how clearly each one explains what’s included. Clarity is a major stress reducer.
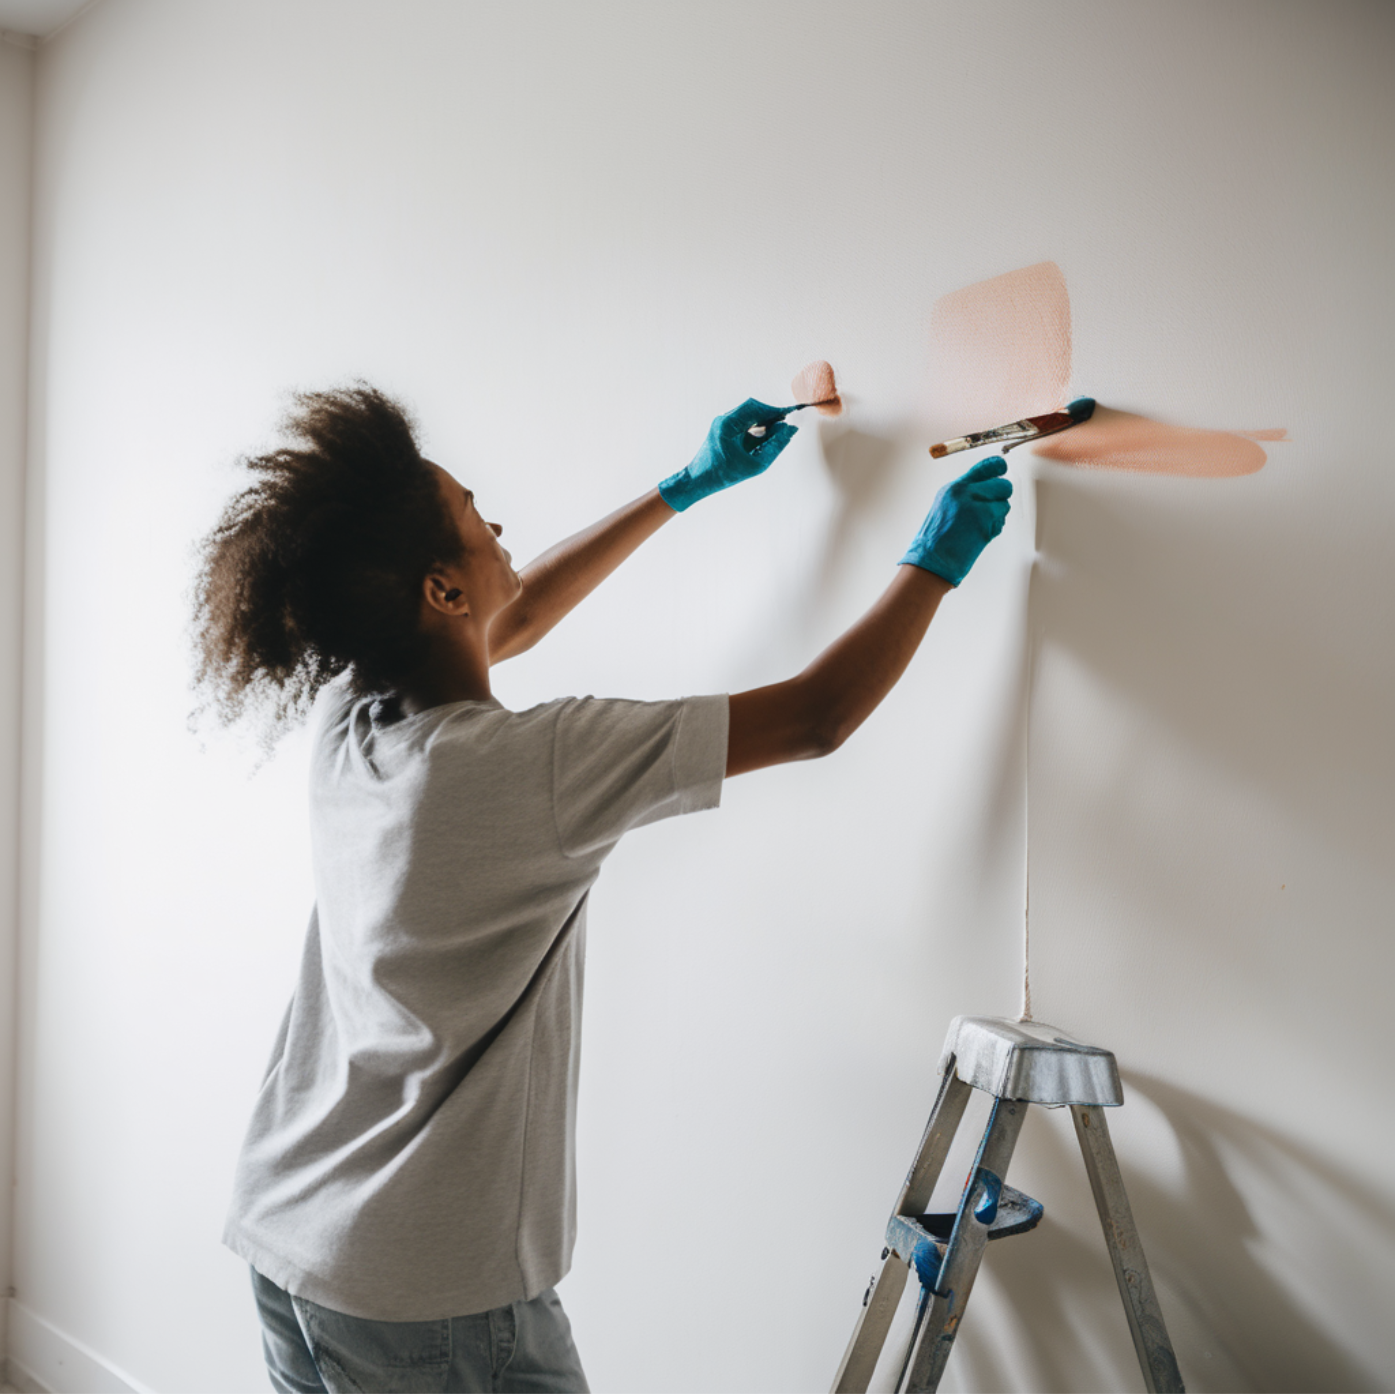
Prep is where the job is either won or quietly sabotaged
Homeowners notice colour. Painters notice surfaces.
And surfaces are where the lasting problems show up: peeling, bubbling, patchiness, or that “rough” look where old paint and new paint never really bonded. Preparation is the unglamorous part of the work, but it’s also the part most likely to decide whether you’ll still be happy in a year.
Think of prep in two buckets:
1) Making the surface sound
That can mean cleaning, scraping, sanding, repairing, sealing stains, and priming where needed. If a wall is chalky, damp, dirty, or glossy, paint won’t behave the way you want it to.
2) Making the surface look good
This is the difference between “technically painted” and “finished”. Patch repairs need feathering. Edges need to be crisp. Texture should look intentional rather than accidental.
A useful question to ask is: “How do you decide when priming is needed?”
A confident answer here is worth more than a vague promise about “top quality products”.
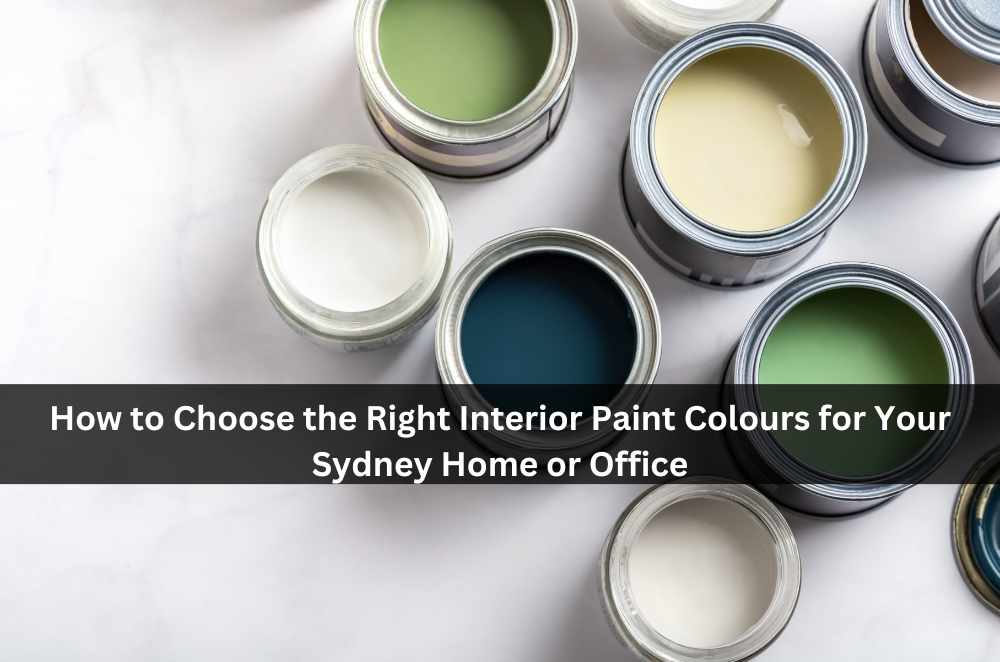
Colour choices: minimise regret, not creativity
Sydney light is bright and sometimes unforgiving. A colour that looks soft in a shop can read stark at home, and a trendy tone can turn muddy in a shaded room.
The lowest-stress way to choose colour is to test fewer options, more realistically:
Pick three candidates, max
Paint test patches on two different walls (not one small square)
Check them morning, midday, and at night
Look at them next to what isn’t changing—floors, tiles, benchtops, fixed cabinetry
Also decide your finish early. Flat, low sheen, and semi-gloss can make the same colour feel different once it’s spread across a whole room.
If your home has multiple spaces being repainted, it often helps to set a simple palette: one main wall colour, one trim colour, and a small number of accent choices. Too many “almost whites” is a common way to end up with a home that feels slightly mismatched even if each room looks fine on its own.
Scheduling in Sydney: be realistic about timing
If you’re repainting outside, weather is part of the plan whether you like it or not. Humidity and rain can interfere with curing, and extreme heat can make paint dry too quickly to settle nicely.
For interiors, the bigger scheduling factor is your household: work-from-home calls, school runs, naps, pets, access to bathrooms, and whether you can spare a room at a time.
A practical approach is zoning:
High-use areas first (or last—depending on your tolerance for disruption)
Bedrooms in a sequence so you’re never stuck without a place to sleep
Trims and doors timed to allow for drying and avoiding “sticky door” headaches
When the schedule matches real life, the project feels manageable instead of endless.
Protection and mess: decide what “normal” looks like
The fear many homeowners have isn’t actually about paint. It’s about mess—dust, drips, accidental splatter, and the sense that everything is slightly grimy for weeks.
Protection should be routine: floor coverings, careful masking, and a plan for keeping walkways safe. But you can help by doing a few quick pre-steps:
Take fragile items, photos, and artwork off walls
Clear benchtops and shelves in active rooms
Decide where ladders and gear will be stored so they aren’t constantly shifted
Set up a pet plan (a closed room, a friend’s place, or timed outdoor breaks)
Those small moves reduce friction, and less friction tends to mean a calmer job for everyone.
Communication: the simplest anti-stress tool
Even a good job can feel stressful if you’re guessing what’s happening day to day.
A short, consistent check-in helps:
What’s done today?
What’s next tomorrow?
Any surprises uncovered (hidden cracks, stains, previous paint issues)?
Anything you need to do tonight (clear a room, keep windows open, avoid a doorway)?
It’s also worth agreeing upfront how changes are handled. If you add a room, change a finish, or discover extra repairs, it’s better to price and approve it clearly rather than improvising in the final days when everyone just wants to be finished.
The walkthrough: where small issues get resolved properly
A final inspection shouldn’t feel like a confrontation. It should feel like the normal last step.
Walk room by room and check:
Coverage consistency and sheen matching
Edges around trims, cornices, switches, and door frames
Drips, missed spots, or rough patches
Doors and windows opening cleanly (no paint build-up causing sticking)
Touch-ups are normal. What matters is that they’re expected and handled systematically.
If you want a homeowner-friendly checklist that focuses on planning and reducing disruption, this guide on getting your house painted without the stress covers the main pain points and the practical steps that keep a repaint from dragging out.
Key Takeaways
Stress usually comes from unclear scope, rushed prep, and unrealistic scheduling.
Define exactly what’s being painted before you spend energy on colour decisions.
Preparation is the foundation of durability and a clean finish—ask how it’s handled.
Test colours in your home’s light, and keep the overall palette simple.
A calm project relies on protection, a workable sequence, and short daily check-ins.


Write a comment ...